
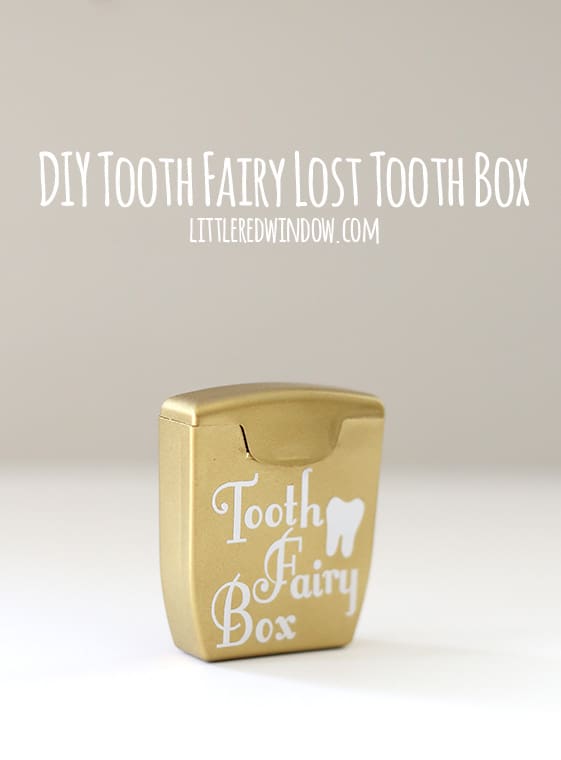
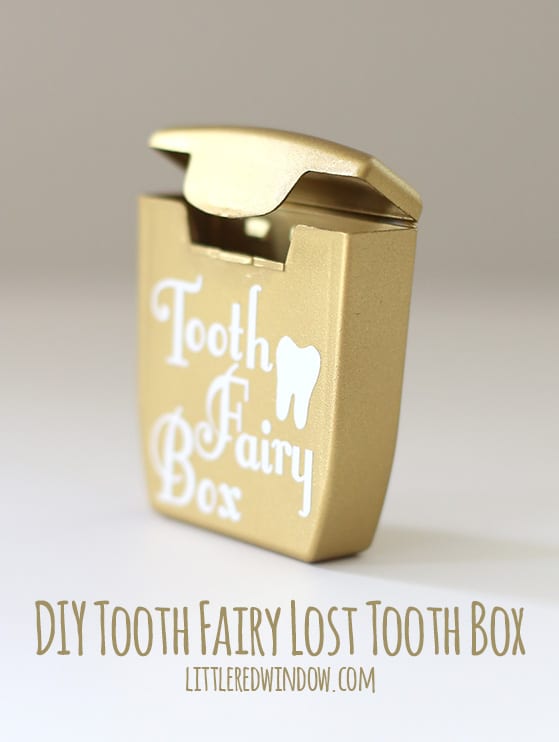
Make a cute little box to hold a lost tooth out of an old dental floss container and print a free printable tooth fairy letter from the desk of the Tooth Fairy (you can personalize it)!
You guys! This printable tooth fairy letter might be my favoritest thing ever (that’s a word, right?!)
When he was in first grade, O lost his first tooth! It went from very slightly wiggly to completely out in less than three days. He lost it during math class at school. Talk about extreme excitement! My parents happened to be visiting that week, although they left to go home and missed the actual tooth falling out by about two hours, but it was lucky for me because I was brainstorming all day about what to make for O to keep his lost tooth in.
And they kept saying, “what’s your big rush?” But I just had a feeling it was going to fall out the next day and it did! I finished this project just in time! Luckily it was a quick and easy DIY and the tooth fairy letter that you can personalize was the icing on the cake for this project!
I was feeling uninspired by the task at first. I feel like I’ve seen about 9,000 tooth fairy pillows. So I wanted to some up with something else. But it had to be easy to make, small and secure. Which is kind of a lot of requirements for a craft project.
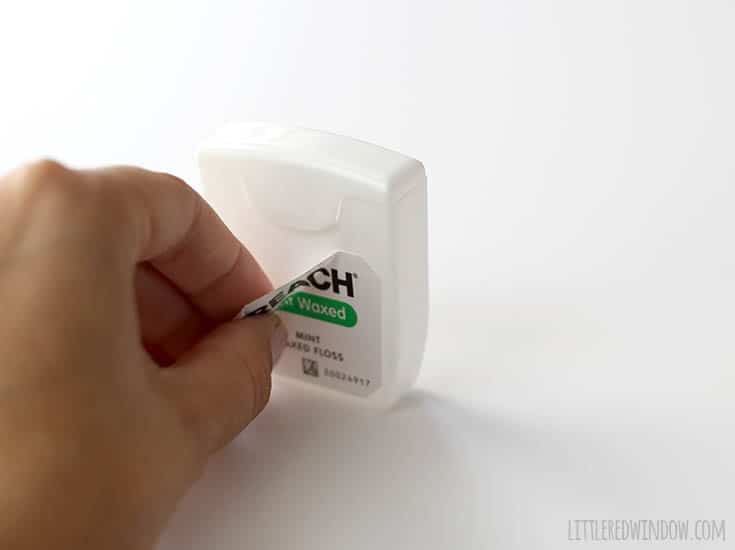
And then I had a eureka moment when I thought to use a dental floss container! How perfect is that?! And conveniently, my dad had the perfect classic dental floss container in his suitcase for me to use (he kept the flossy insides to keep using)!
I also whipped up an really cute letter from the tooth fairy to share with you as well. Scroll all the way down if you’d like to download and print your free copy (you can personalize it for your child)! Here’s how I did it:
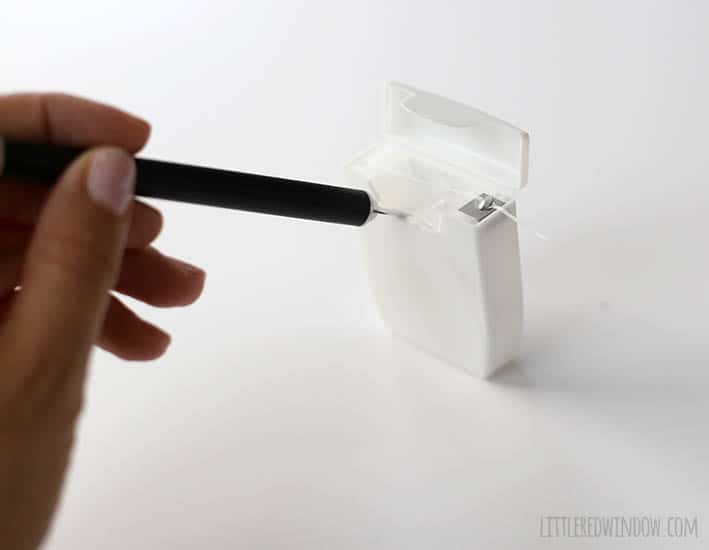
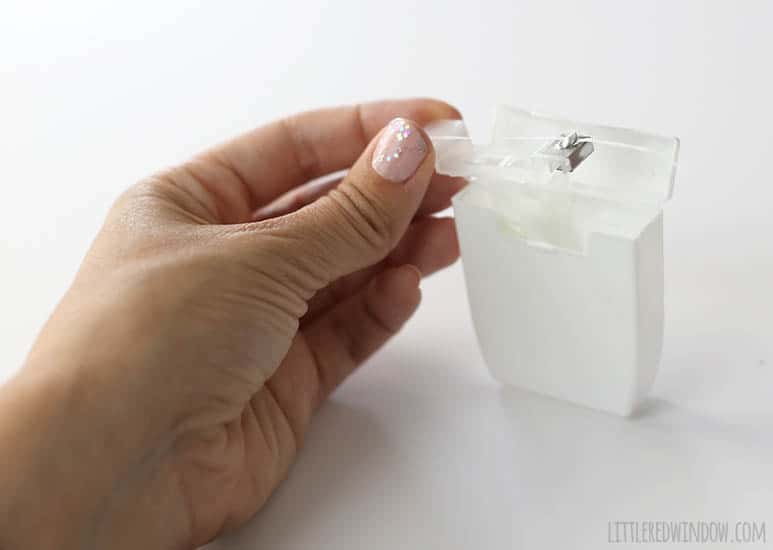
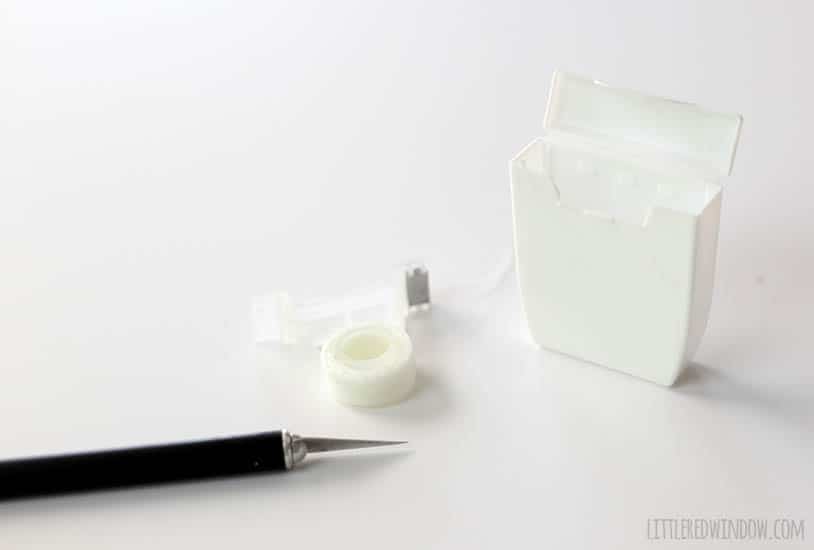
2. Then use a craft knife or something similar to pop out the internal dental floss mechanism. Mine came out very easily. If it isn’t empty, set the floss aside to keep using!
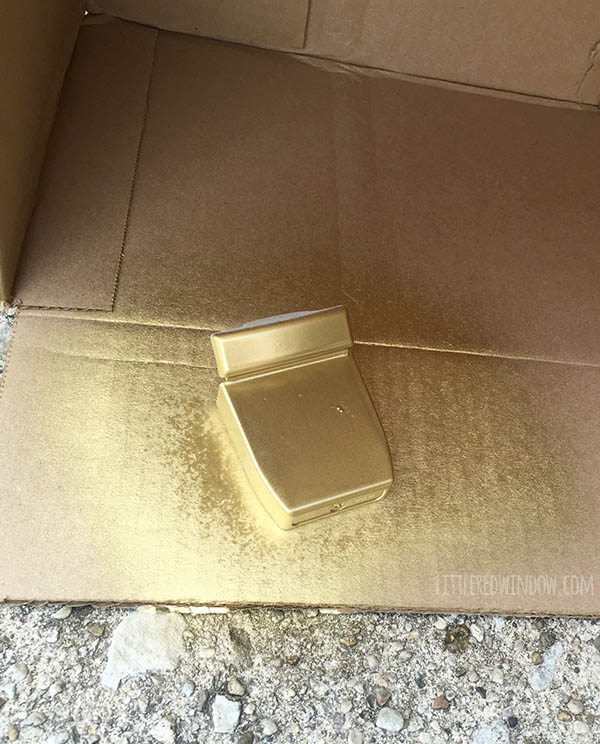
3. Take your floss container outside and give the entire thing a good coat of spray primer. I tried doing it without primer and the paint peeled right off. Make sure your primer says it’s appropriate for plastic. When it’s dried according to the primer’s directions, give it several thin and even coats of gold spray paint. Don’t forget to open it up and get inside the lid!
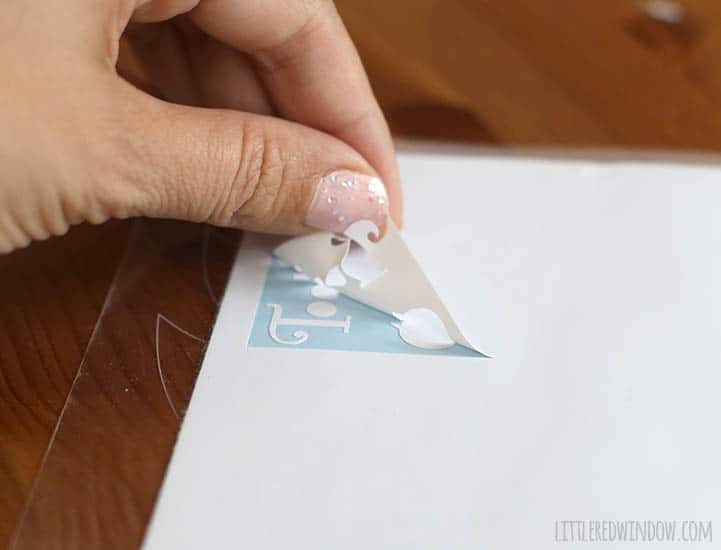
4. While it’s drying you can go ahead and lay your design out using your cutting machine’s software. I have a silhouette cameo and I drew the tooth myself. The font I used is called Little Lord Fontleroy. I cut my vinyl with a blade depth of 2 and a speed of 2, thickness was whatever Silhouette suggests for vinyl. I also turned on line segment overcut, I feel like it helps with inctricate designs like this. When it was finished cutting, I carefully peeled off the negative space and used a piece of contact paper to lift the vinyl.
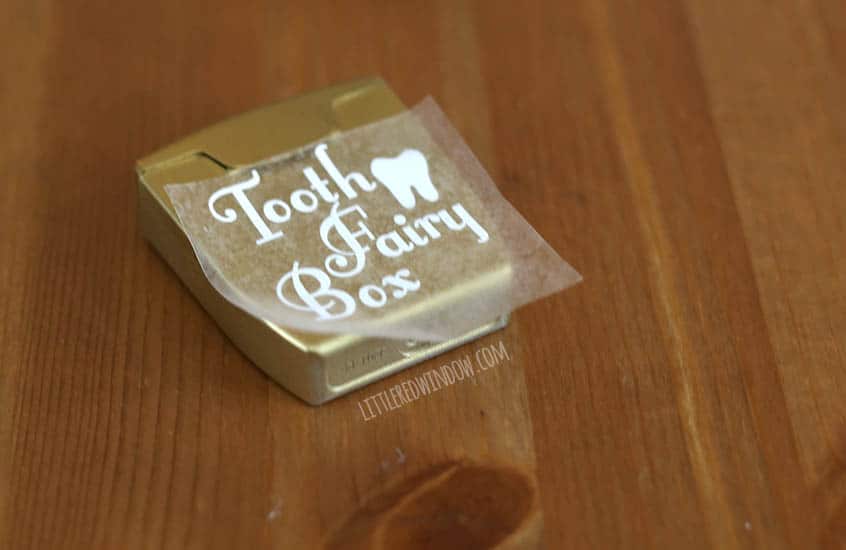
5. Apply the vinyl to the dental floss container and rub all over to make it stick. Then carefully peel off the contact paper. 6. I also added another little tooth shape to the back of the container just for fun. And that’s it!
It worked out great for the tooth fairy’s first visit. Except for that 30 seconds right before bed when someone kept peeking inside to “say goodbye to my tooth” and said tooth fell out and was almost lost. But that had very little to do with the tooth container and more to do with the extremely excited 6 year old tooth-loser.
 front with the top open" width="559" height="742" />
 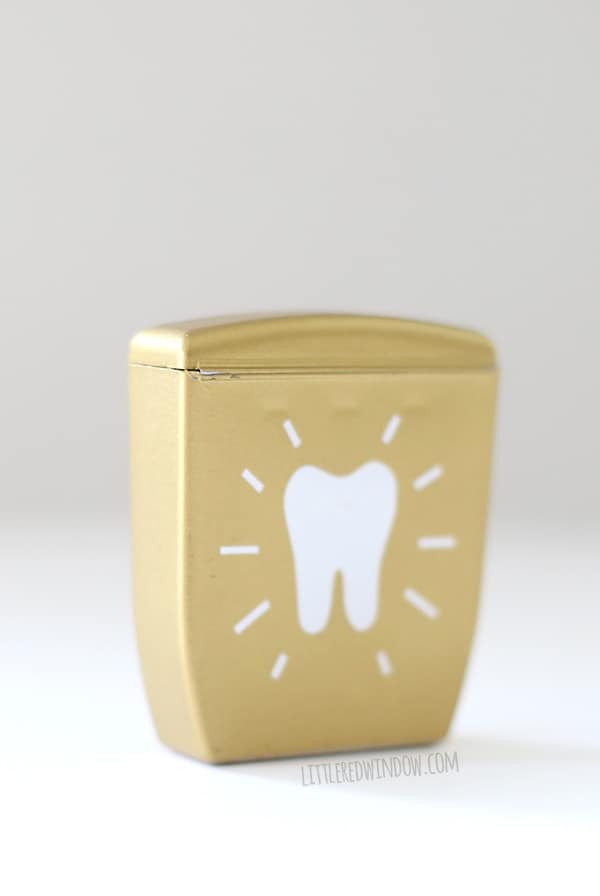 container with white tooth shape in the center" width="600" height="896" />
As an added bonus, the tooth fairy told me this little container was the perfect place to leave her money! And if you’re looking for a copy of that cute printable tooth fairy letter, here it is (scroll down to download).

I have both a completely blank copy of the tooth fairy letter letterhead if you want to write your own letter or a version with the first tooth message that I wrote plus blank space for your child’s name (as shown in the picture above) so you can personalize it either way!
Enjoy! And please if you make one or use the printable tooth fairy letter for your kids, I’d love to hear about it! O was surprisingly super excited about the “Tooth Fairy Smile Club”, he thought that sounded very important, lol!
If you liked this, you may also like some of my other posts…